🍁 jQuery
jQuery란?
jQuery is a fast, small, and feature-rich JavaScript library. It makes things like HTML document traversal and manipulation, event handling, animation, and Ajax much simpler with an easy-to-use API that works across a multitude of browsers. With a combination of versatility and extensibility, jQuery has changed the way that millions of people write JavaScript.
jQuery는 경량화된 JavaScript 라이브러리로, 스타일 속성 조작뿐만 아니라 요소를 찾기 위해 CSS3 선택기를 지원한다.
하나의 코드를 브라우저마다 동일하게 지원하고 동일하게 처리해야 하는데, 다르게 처리하다 보니 여러 개의 코드가 필요했는데, 이 작업을 jQuery가 Cross-Browser를 지원하여 브라우저에 동작할 수 있는 전용 코드로 변환해 준다.
🍁jQuery 설치
jQuery를 설치하는 방법으로는 로컬 설치를 하는 방법과 CDN 설치를 하는 방법이 있다.
jQuery
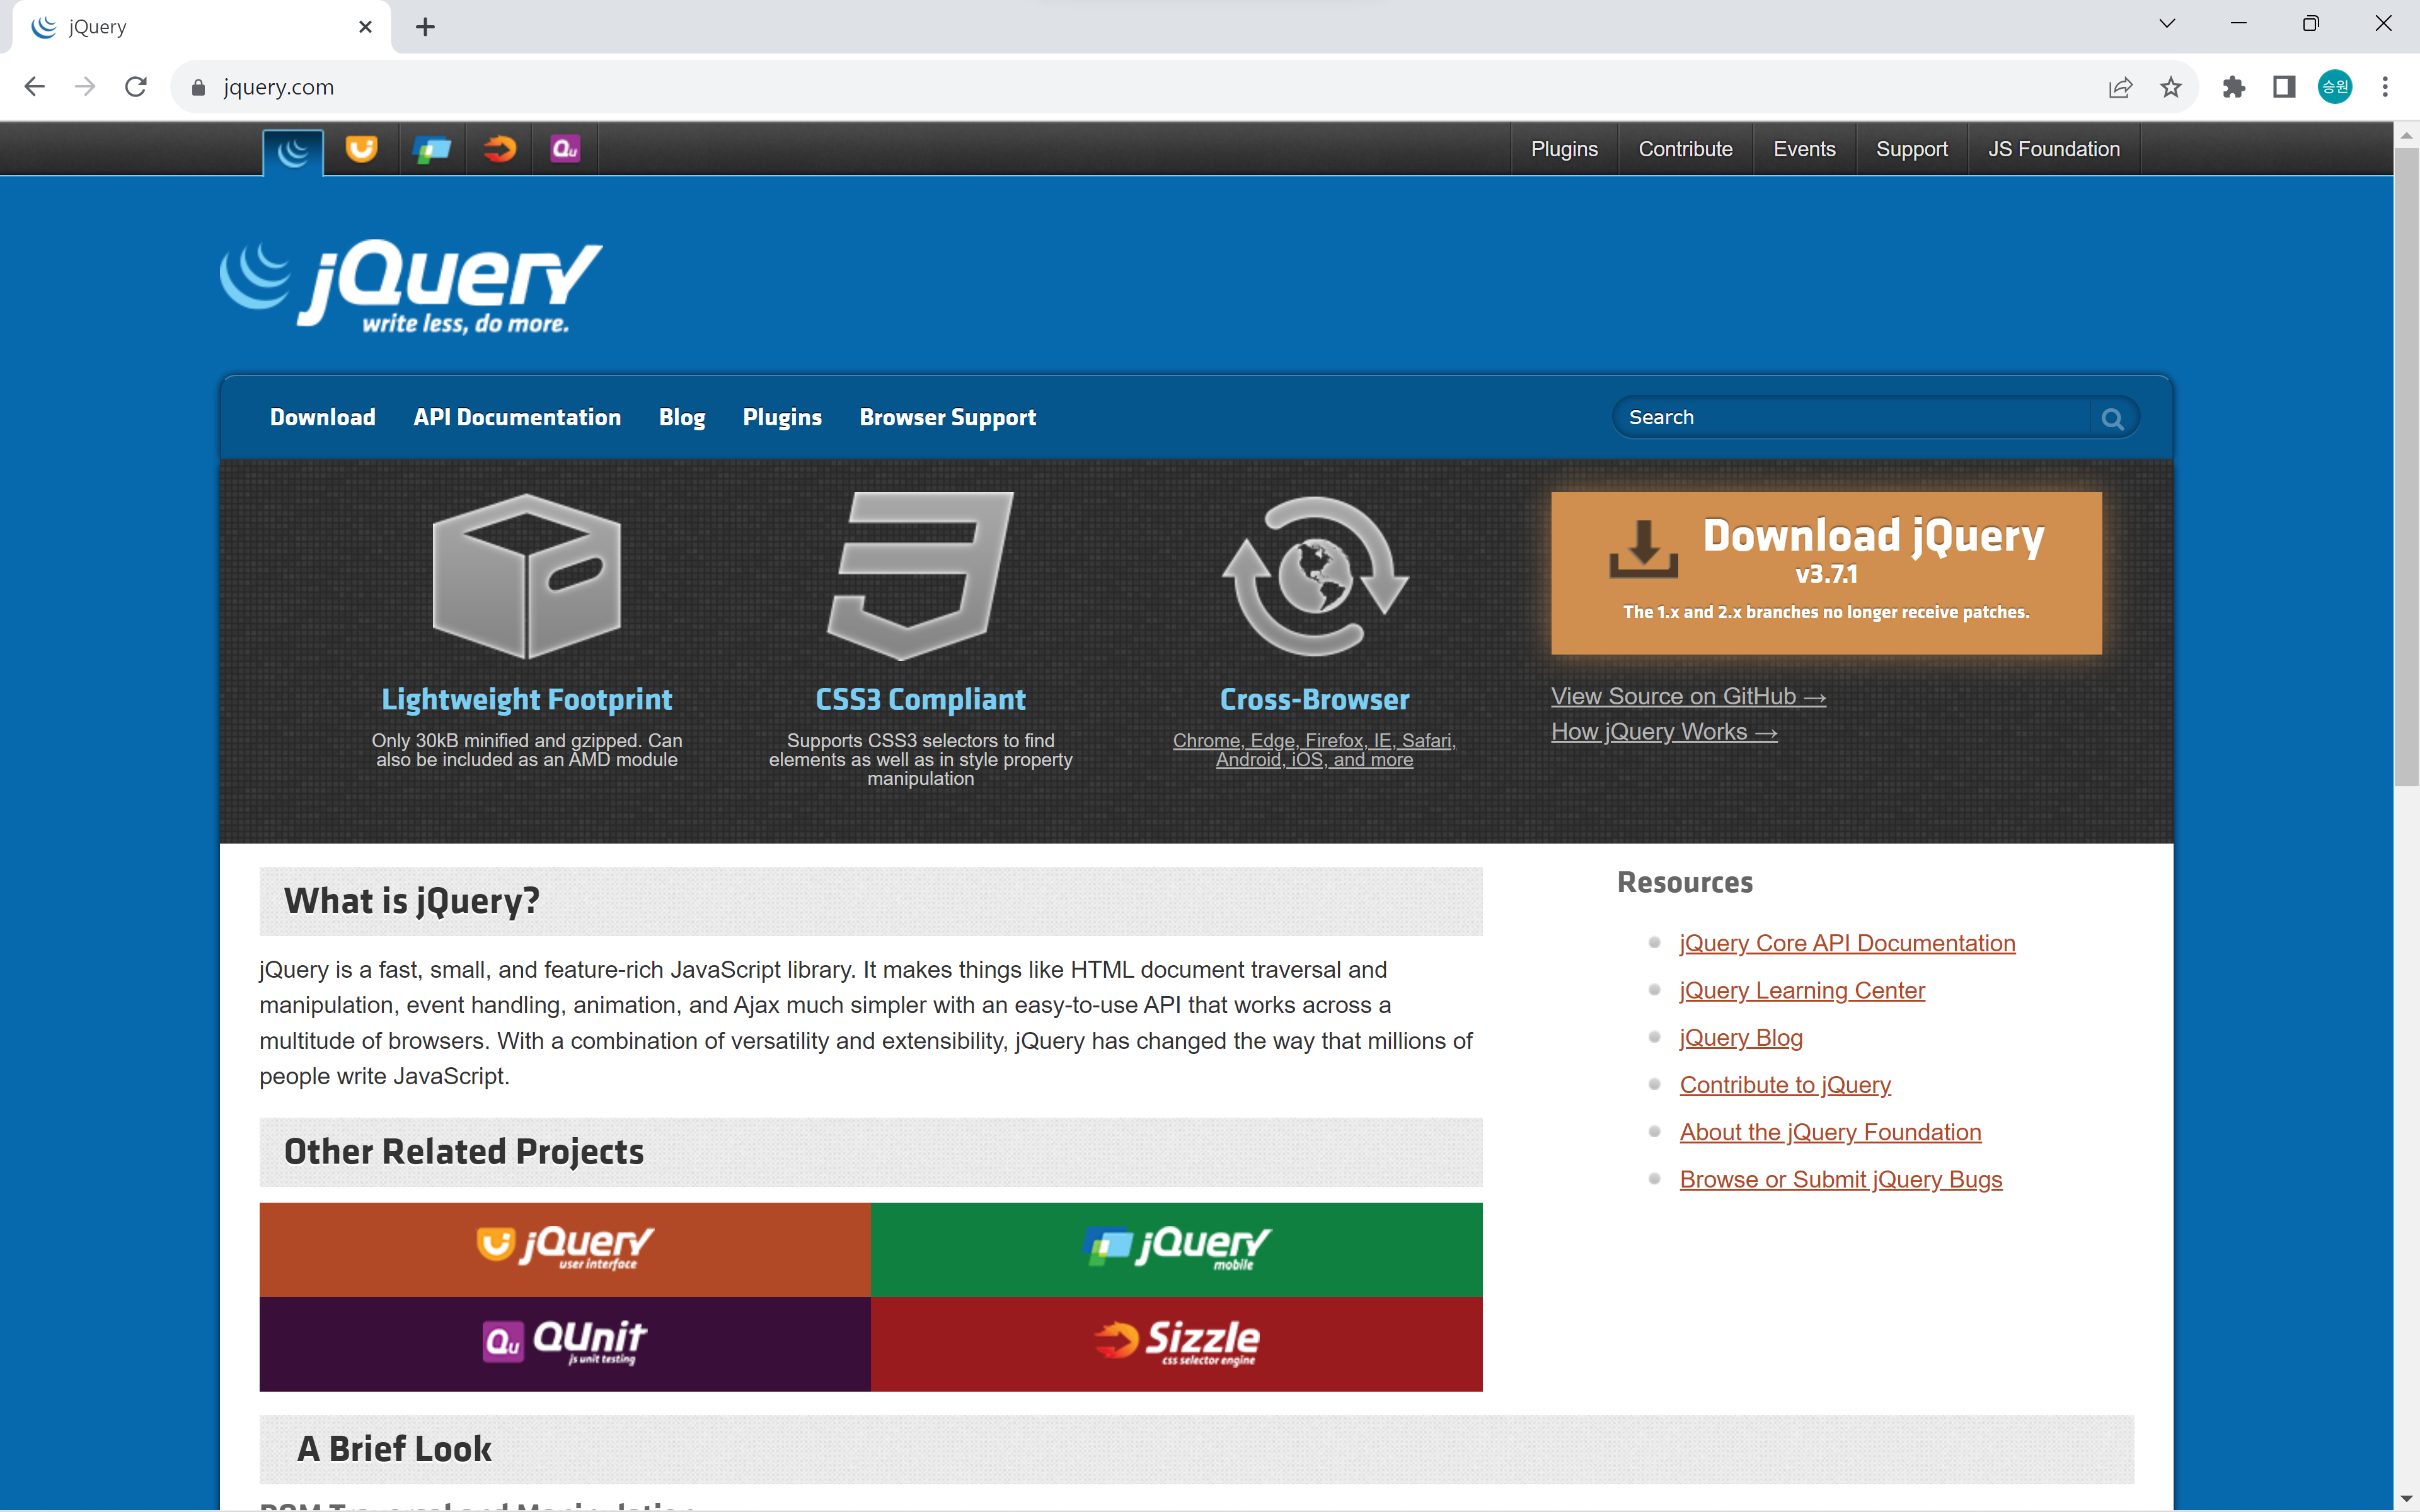
What is jQuery? jQuery is a fast, small, and feature-rich JavaScript library. It makes things like HTML document traversal and manipulation, event handling, animation, and Ajax much simpler with an easy-to-use API that works across a multitude of browsers.
jquery.com
1. 로컬 설치
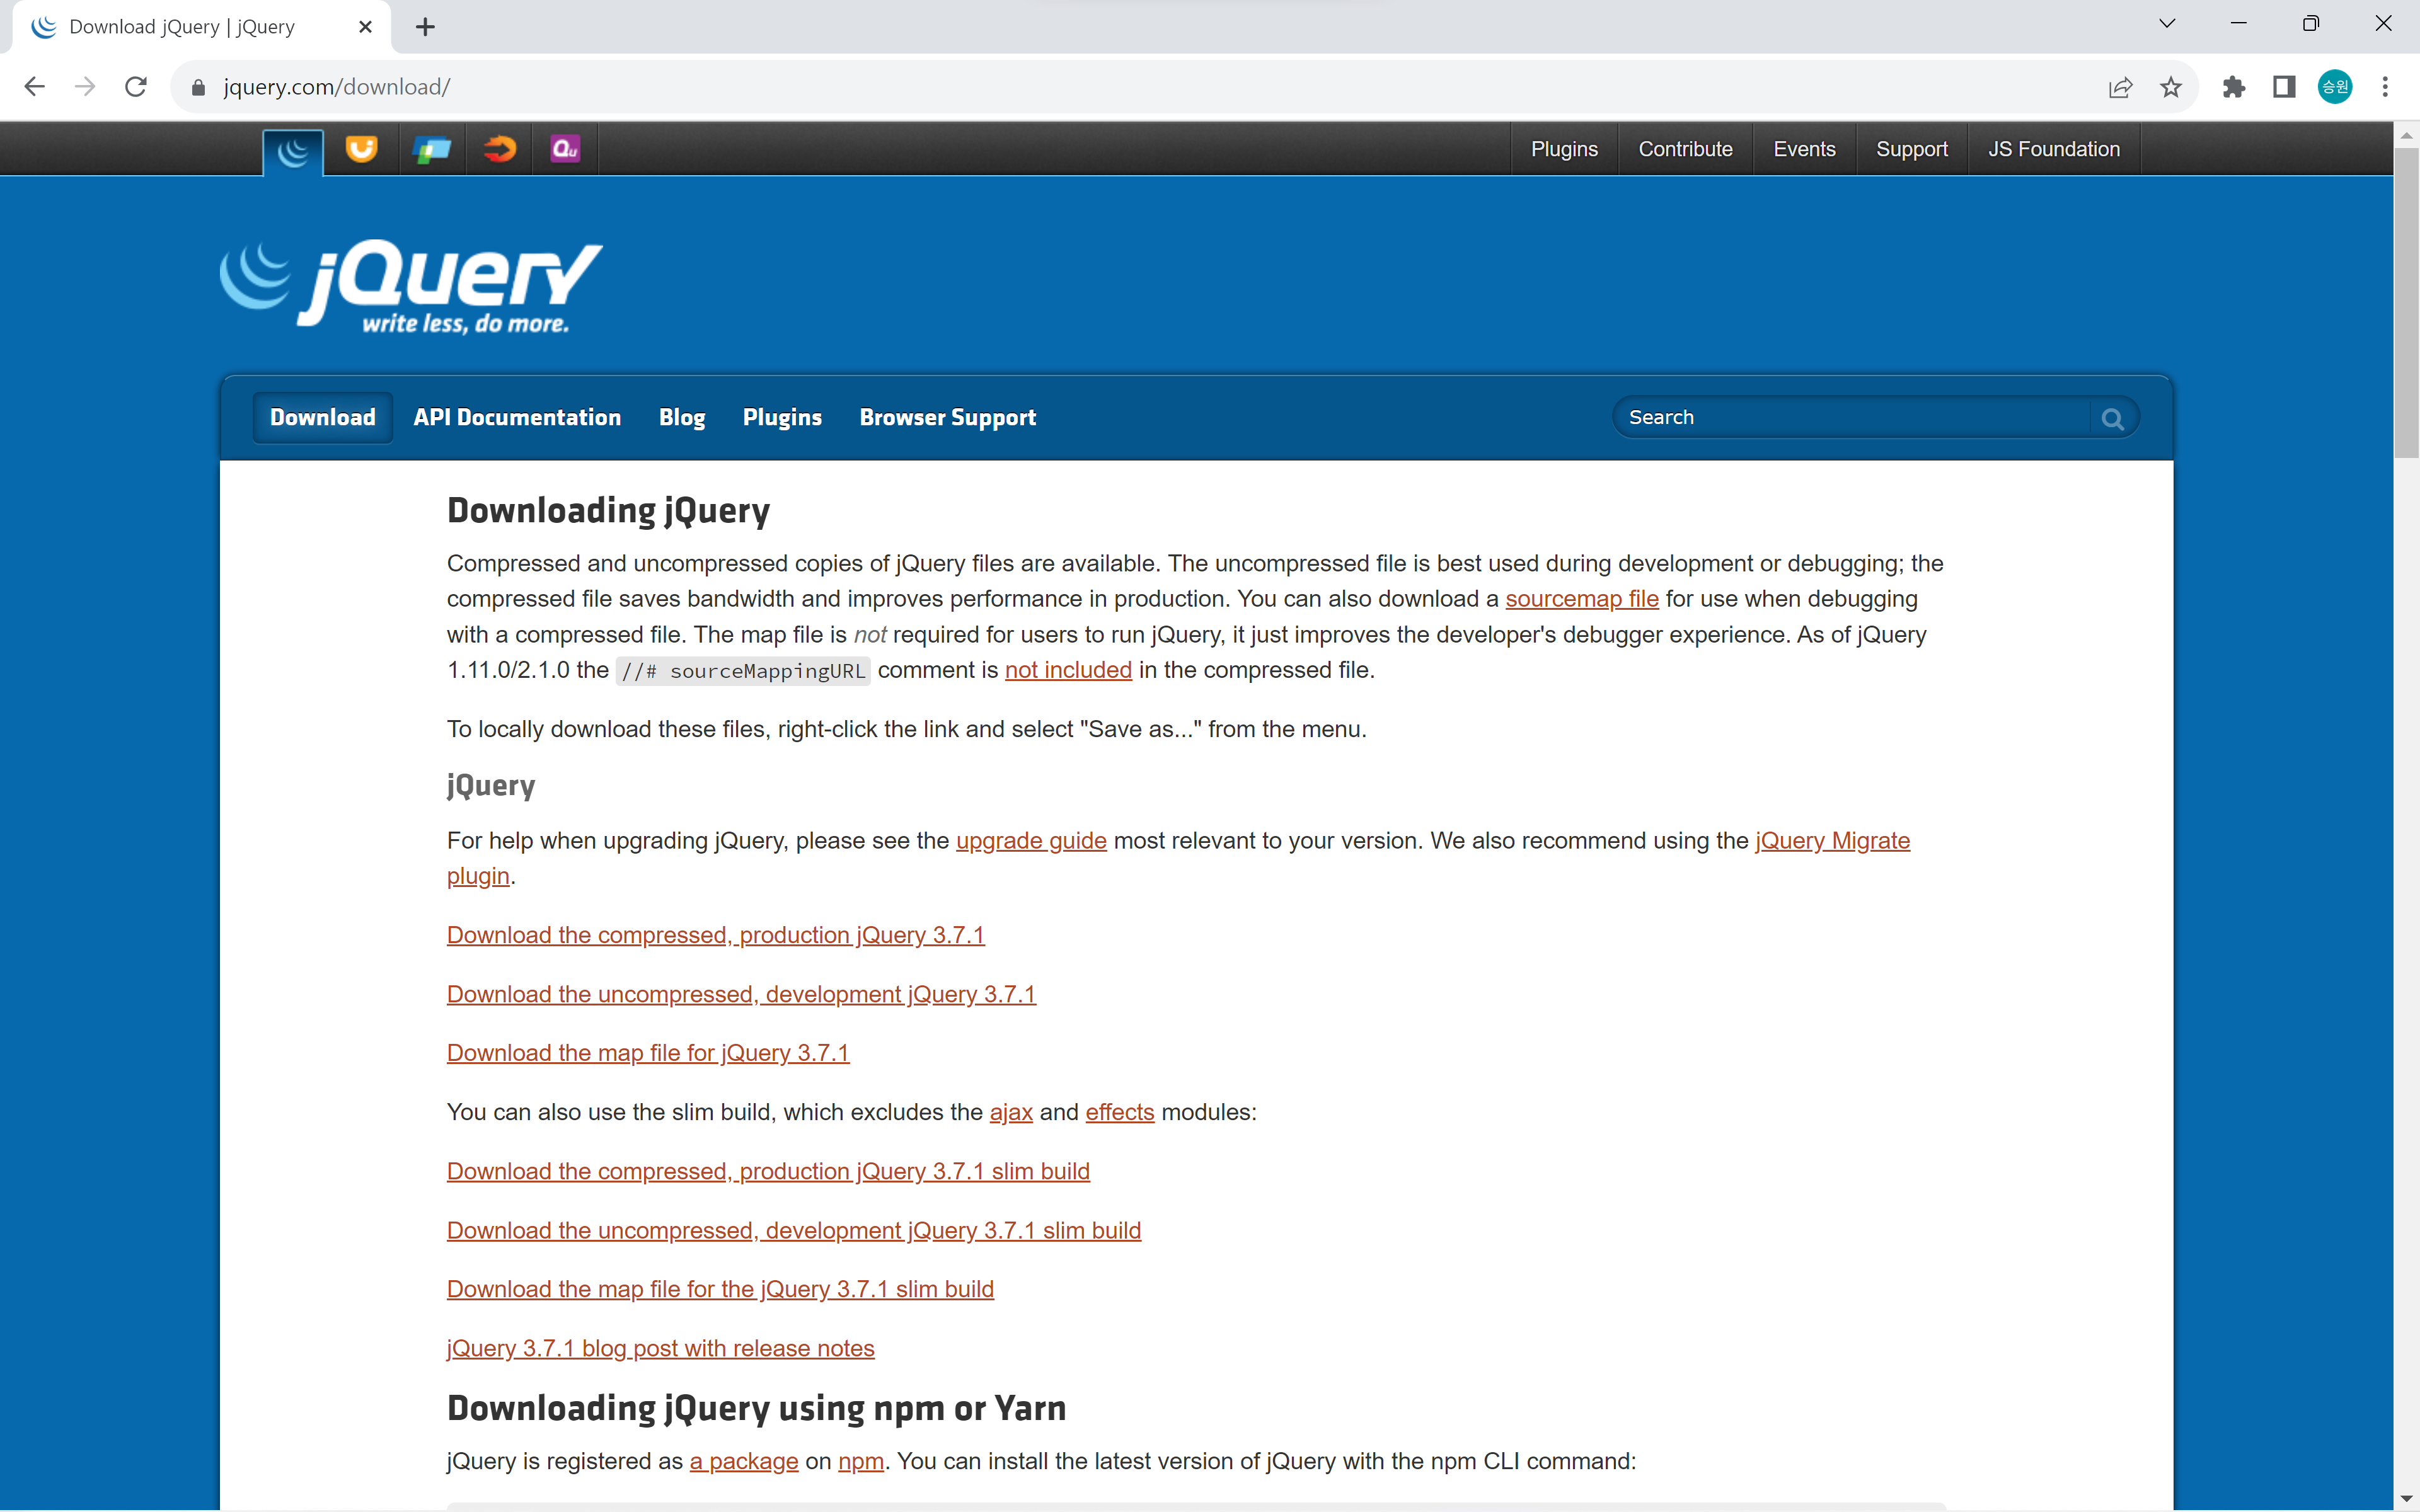
로컬 설치는 파일 다운로드하여 참조하는 방식이다.
버전은 기능 차이보다는 브라우저 호환성 차이를 의미한다.
기술이 파편화가 되면 성능이 줄어드는데, 브라우저를 몇 개 버리고 일부 브라우저로 한정해서 줄여버리면 코드를 최적화시키고 할 수 있는 게 늘어나기 때문에 이를 버전으로 처리한 것이다.
현재 가장 많이 사용하는 버전은 1점대이다.
jQuery CDN
jQuery CDN – Latest Stable Versions jQuery Core Showing the latest stable release in each major branch. See all versions of jQuery Core. jQuery 3.x jQuery 2.x jQuery 1.x jQuery Migrate jQuery UI Showing the latest stable release for the current and legac
releases.jquery.com

jQuery 1.x
jQuery Core 1.12.4 - uncompressed, minified를 마우스 오른쪽 클릭하여 '다른 이름으로 링크 저장'으로 저장한다.
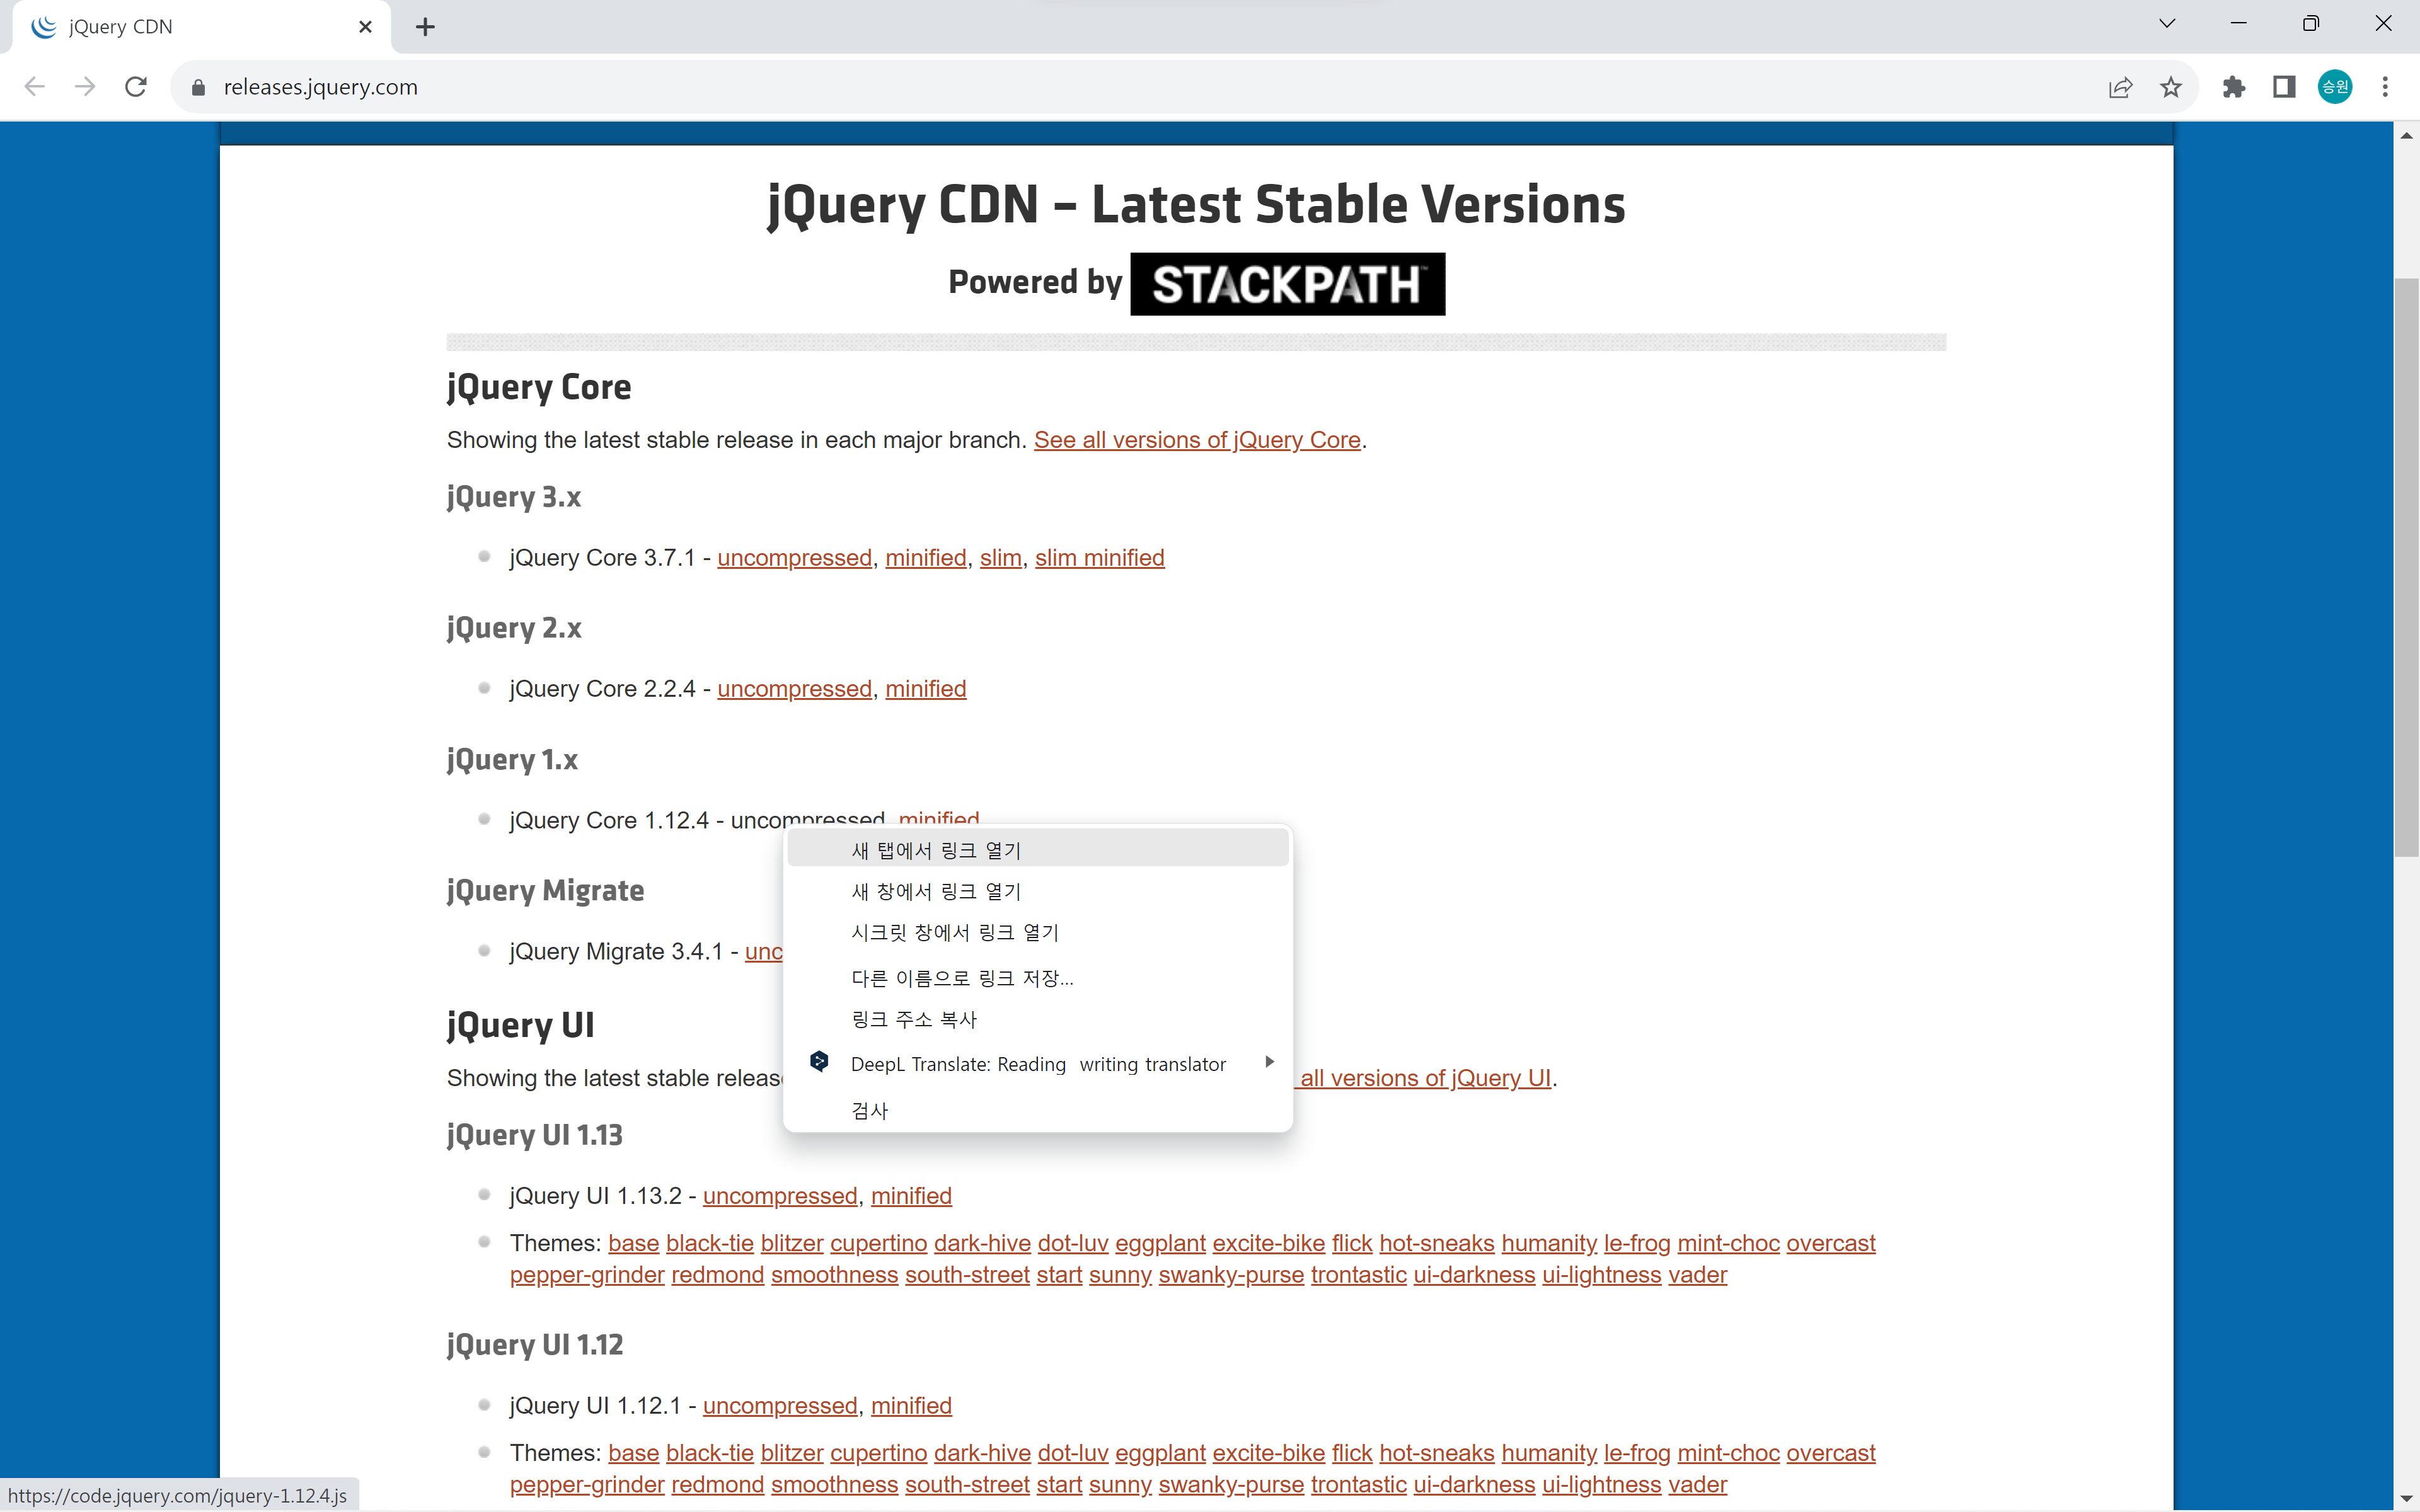

새 탭에서 링크 열기를 하면 자바스크립트 코드가 들어 있다.
압축은 실행에만 필요한 코드만 남기고 필요 없는 space bar 등을 모두 지워 버린 것이다. 비압축 버전에는 개발할 때 보조적으로 개발을 도와주는 디버깅 등의 기능이 들어 있다.
압축 버전은 실제 서비스를 운영할 때 사용하고, 비압축 버전은 개발을 할 때 사용한다.
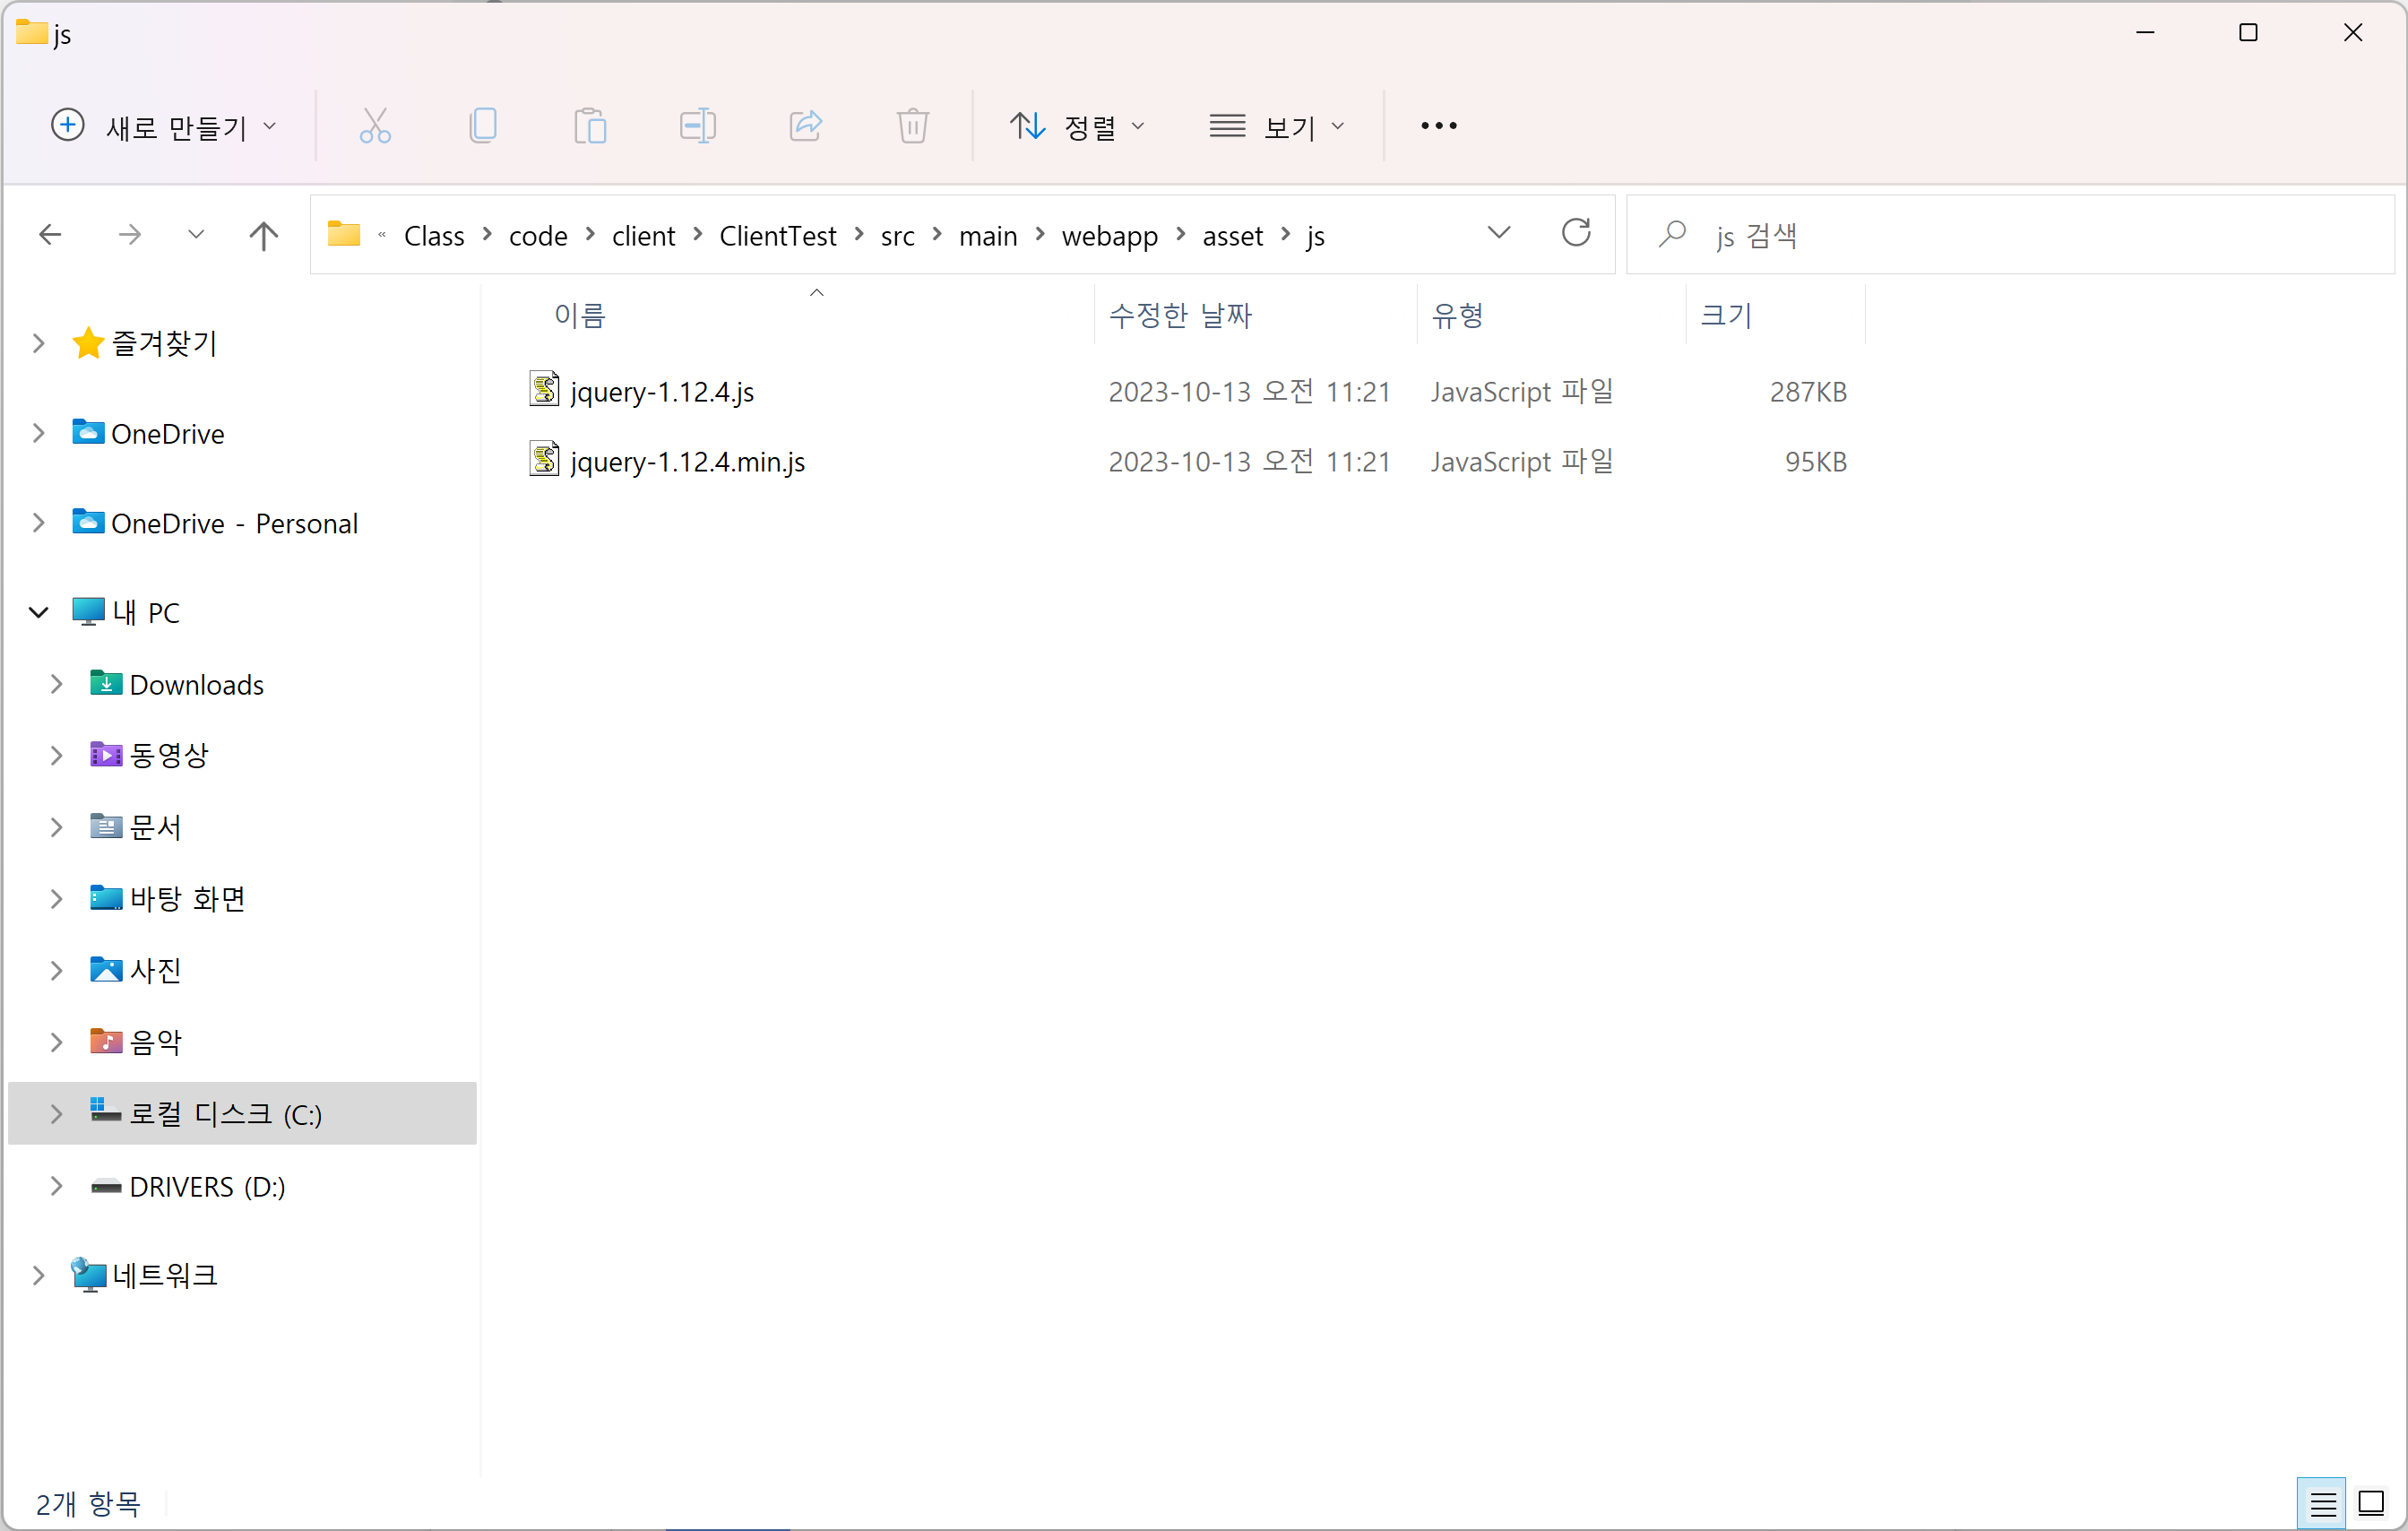
<script src="../asset/js/jquery-1.12.4.js"></script>다운로드 받은 jQuery 파일을 js 폴더에 저장하고 호출한다.
2. CDN 설치
CDN 설치는 서버에서 프로그램을 받아오는 원격 파일 참조 방식이다.

<script src="https://code.jquery.com/jquery-1.12.4.js" integrity="sha256-Qw82+bXyGq6MydymqBxNPYTaUXXq7c8v3CwiYwLLNXU=" crossorigin="anonymous"></script>
CDN을 쓰는 첫 번째 이유는 돈 때문이다. CDN 방식은 회선 비용을 줄여준다.
자바스크립트 파일의 크기가 287KB인데, 이는 3명에서 4명이 접속을 하면 1MB를 쓴다는 의미이다.
하루 접속자가 만 명, 10만 명이 되면 이 페이지를 접속하는 회선 비용 만으로도 수십, 수백만 원이 나올 수도 있다.
설치 확인
<input type="text" name="txt1" id="txt1">텍스트 박스를 찾는 방식으로 설치가 잘 되었는지 확인해 보도록 하자.
jQuery(CSS 선택자);jQuery() 함수를 이용하여 찾는데, 여기에 CSS 선택자를 넣을 수 있다.
이는 document.querySelectorAll()과 기능이 같다.
jQuery('#txt1').val('jQuery');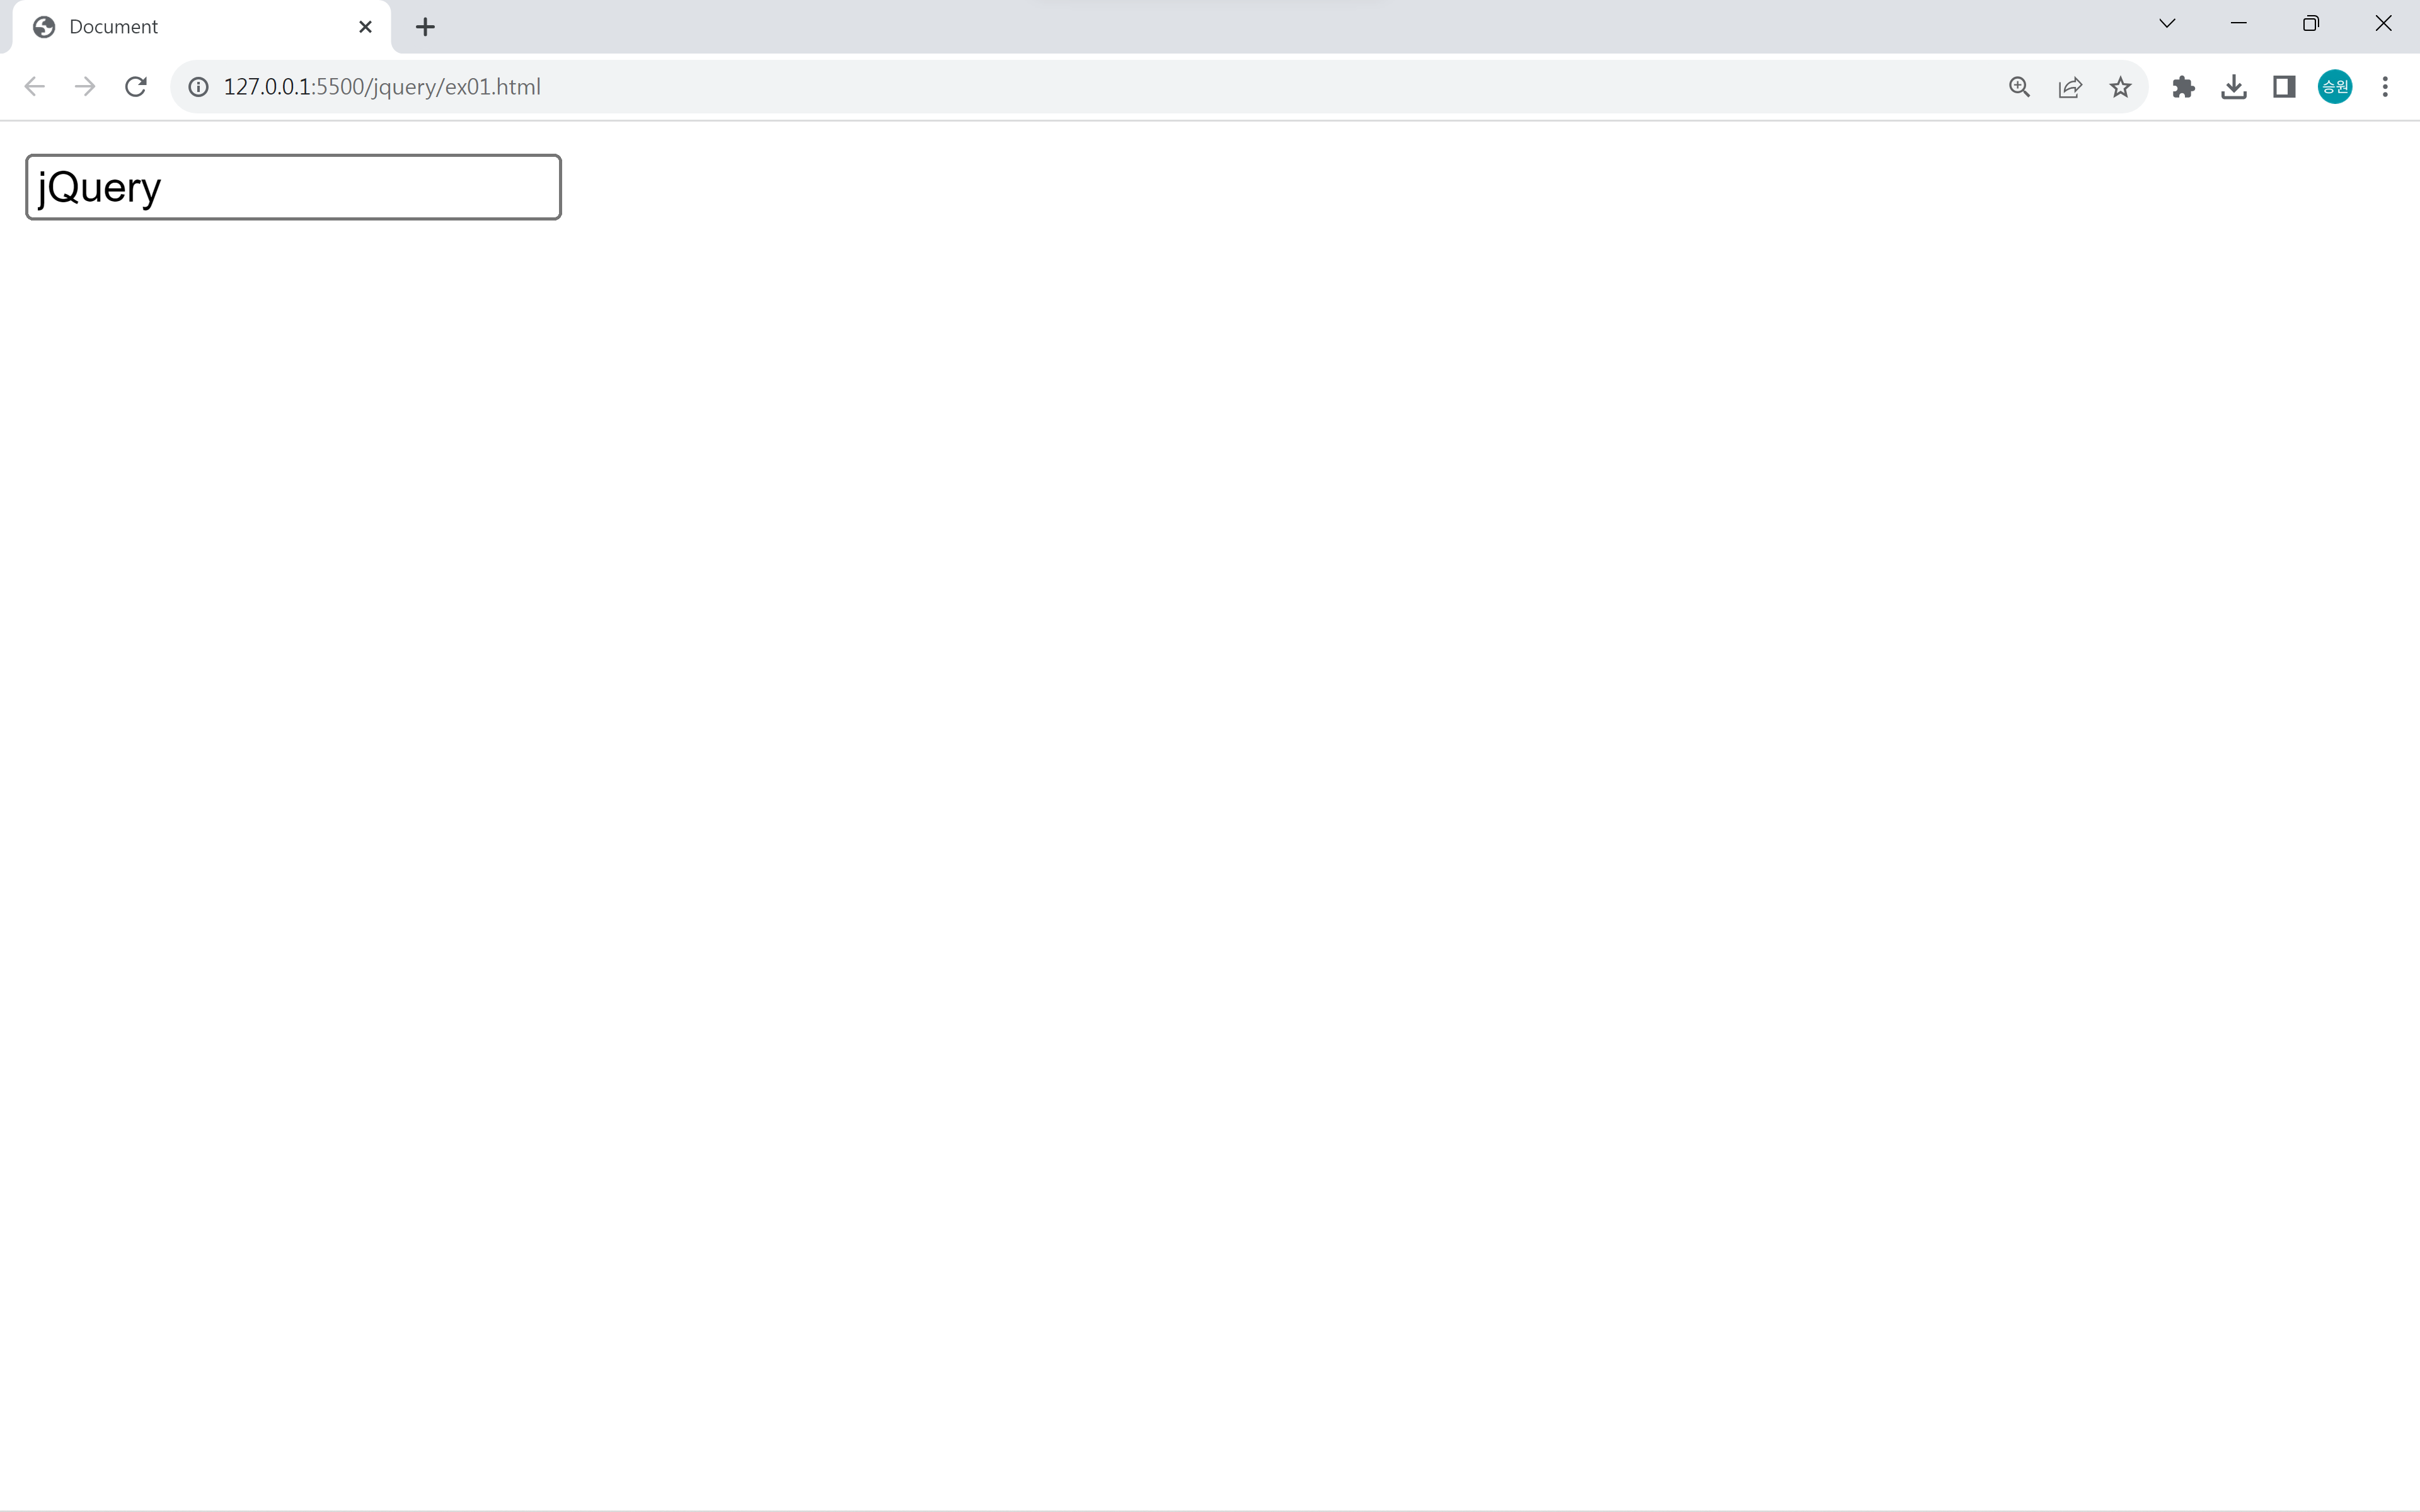
출력이 되는 것을 보니 설치가 잘 되었다.
🍁Template 생성
<!DOCTYPE html>
<html lang="en">
<head>
    <meta charset="UTF-8">
    <meta name="viewport" content="width=device-width, initial-scale=1.0">
    <title>Document</title>
    <style>

    </style>
</head>
<body>


    <script src="../asset/js/jquery-1.12.4.js"></script>
    <script>

    </script>
</body>
</html>위 코드를 템플릿으로 만들려고 한다.
사용자 코드 조각

VS Code에서 사용자 코드 조각을 클릭한다.
HTML 입력
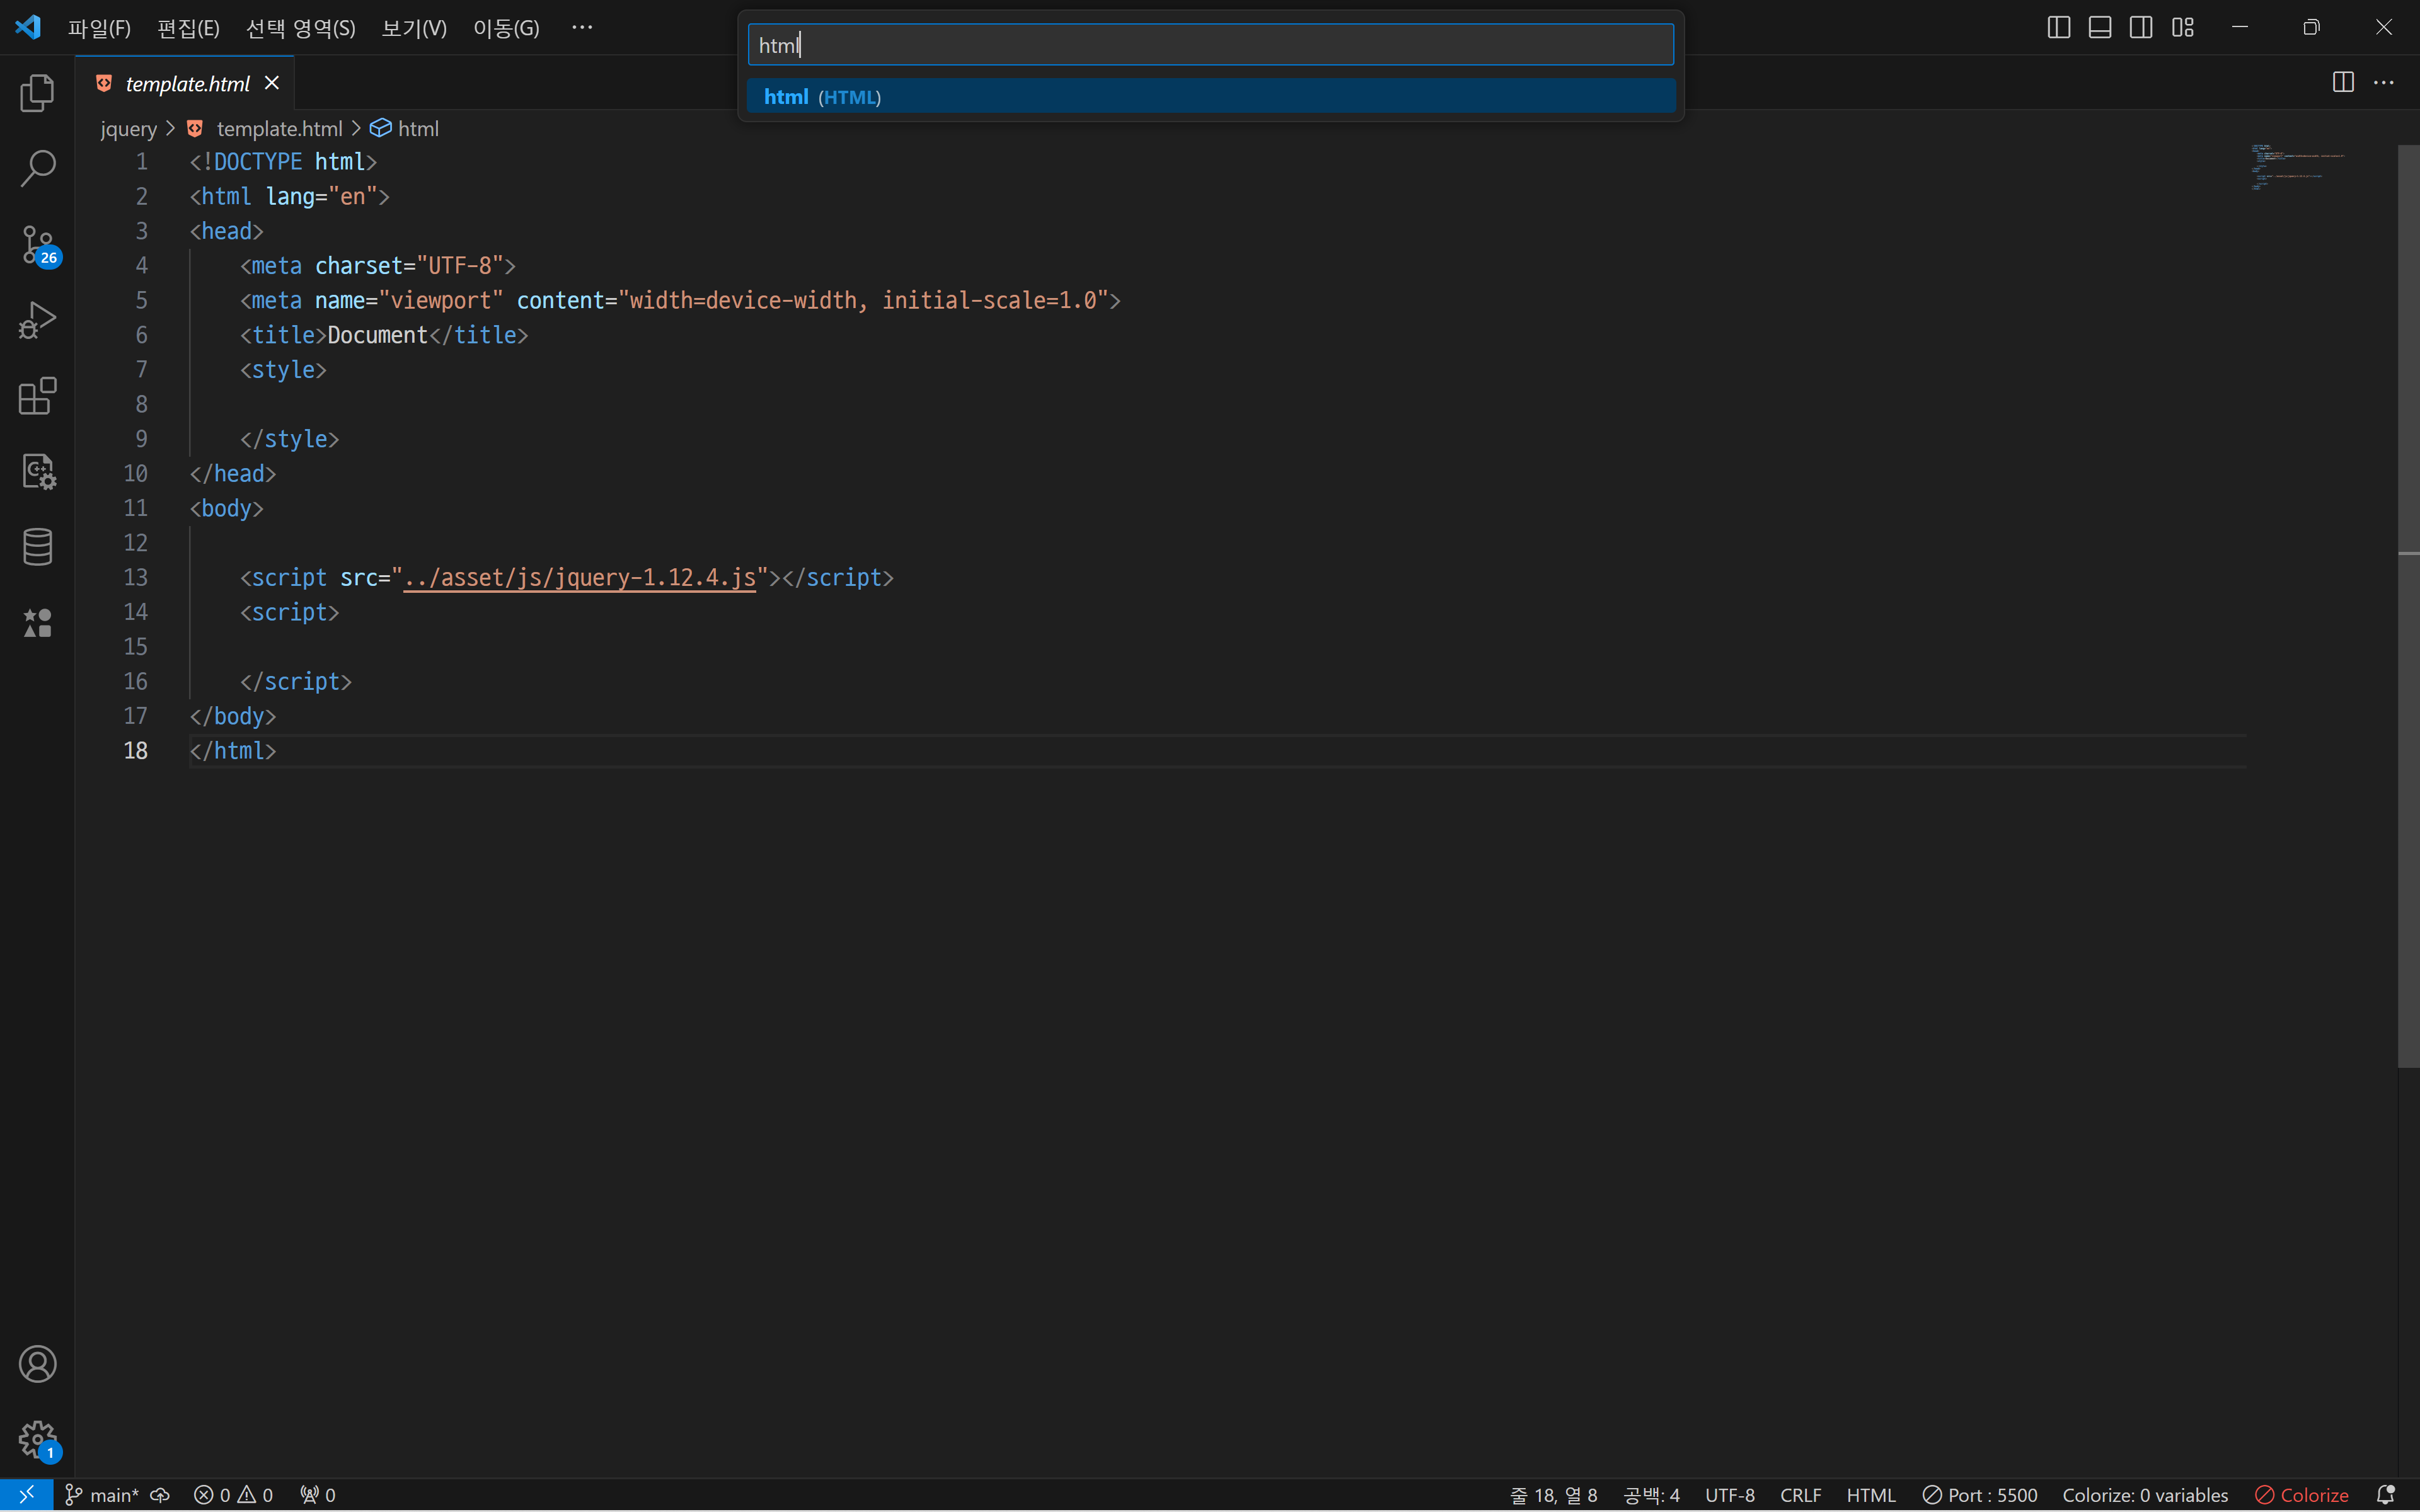
HTML > Enter를 입력한다.
Template 입력


예시 코드를 복사하여 아래에 주석을 해제하여 내용을 추가한다.
내용은 ""안에 넣어서 작성한다.
{
	// Place your snippets for html here. Each snippet is defined under a snippet name and has a prefix, body and
	// description. The prefix is what is used to trigger the snippet and the body will be expanded and inserted. Possible variables are:
	// $1, $2 for tab stops, $0 for the final cursor position, and ${1:label}, ${2:another} for placeholders. Placeholders with the
	// same ids are connected.
	// Example:
	// "Print to console": {
	// 	"prefix": "log",
	// 	"body": [
	// 		"console.log('$1');",
	// 		"$2"
	// 	],
	// 	"description": "Log output to console"
	// }

	"test HTML": {
		"prefix": "!!",
		"body": [
			"<!DOCTYPE html>",
			"<html lang=\"en\">",
			"<head>",
			"	<meta charset=\"UTF-8\">",
			"	<meta name=\"viewport\" content=\"width=device-width, initial-scale=1.0\">",
			"	<title>Document</title>",
			"	<style>",
			"		",
			"	</style>",
			"</head>",
			"<body>",
			"	",
			"",
			"	<script src=\"../asset/js/jquery-1.12.4.js\"></script>",
			"	<script>",
			"		",
			"	</script>",
			"</body>",
			"</html>"
		],
		"description": "Log output to console"
	}
}"prefix": "!!"은 사용자가 해당 코드 조각을 호출할 때 사용해야 하는 트리거 텍스트(단축키)를 나타낸다.
예를 들어, 사용자가 "!!"을 입력하면 해당 코드 조각이 자동으로 삽입된다.

